Bikepacking has long been one of my favorite ways to explore, relax, and challenge myself. I put together this overview to help others get the wheels turning (pun intended). This is not a comprehensive guide on bikepacking; treat it more as a list of considerations and some strategies for success. My belief is that there is no “right” way to experience this sport and part of the enjoyment is the process of refining your setup. I hope you enjoy and would love to hear your questions or comments below!
GEAR
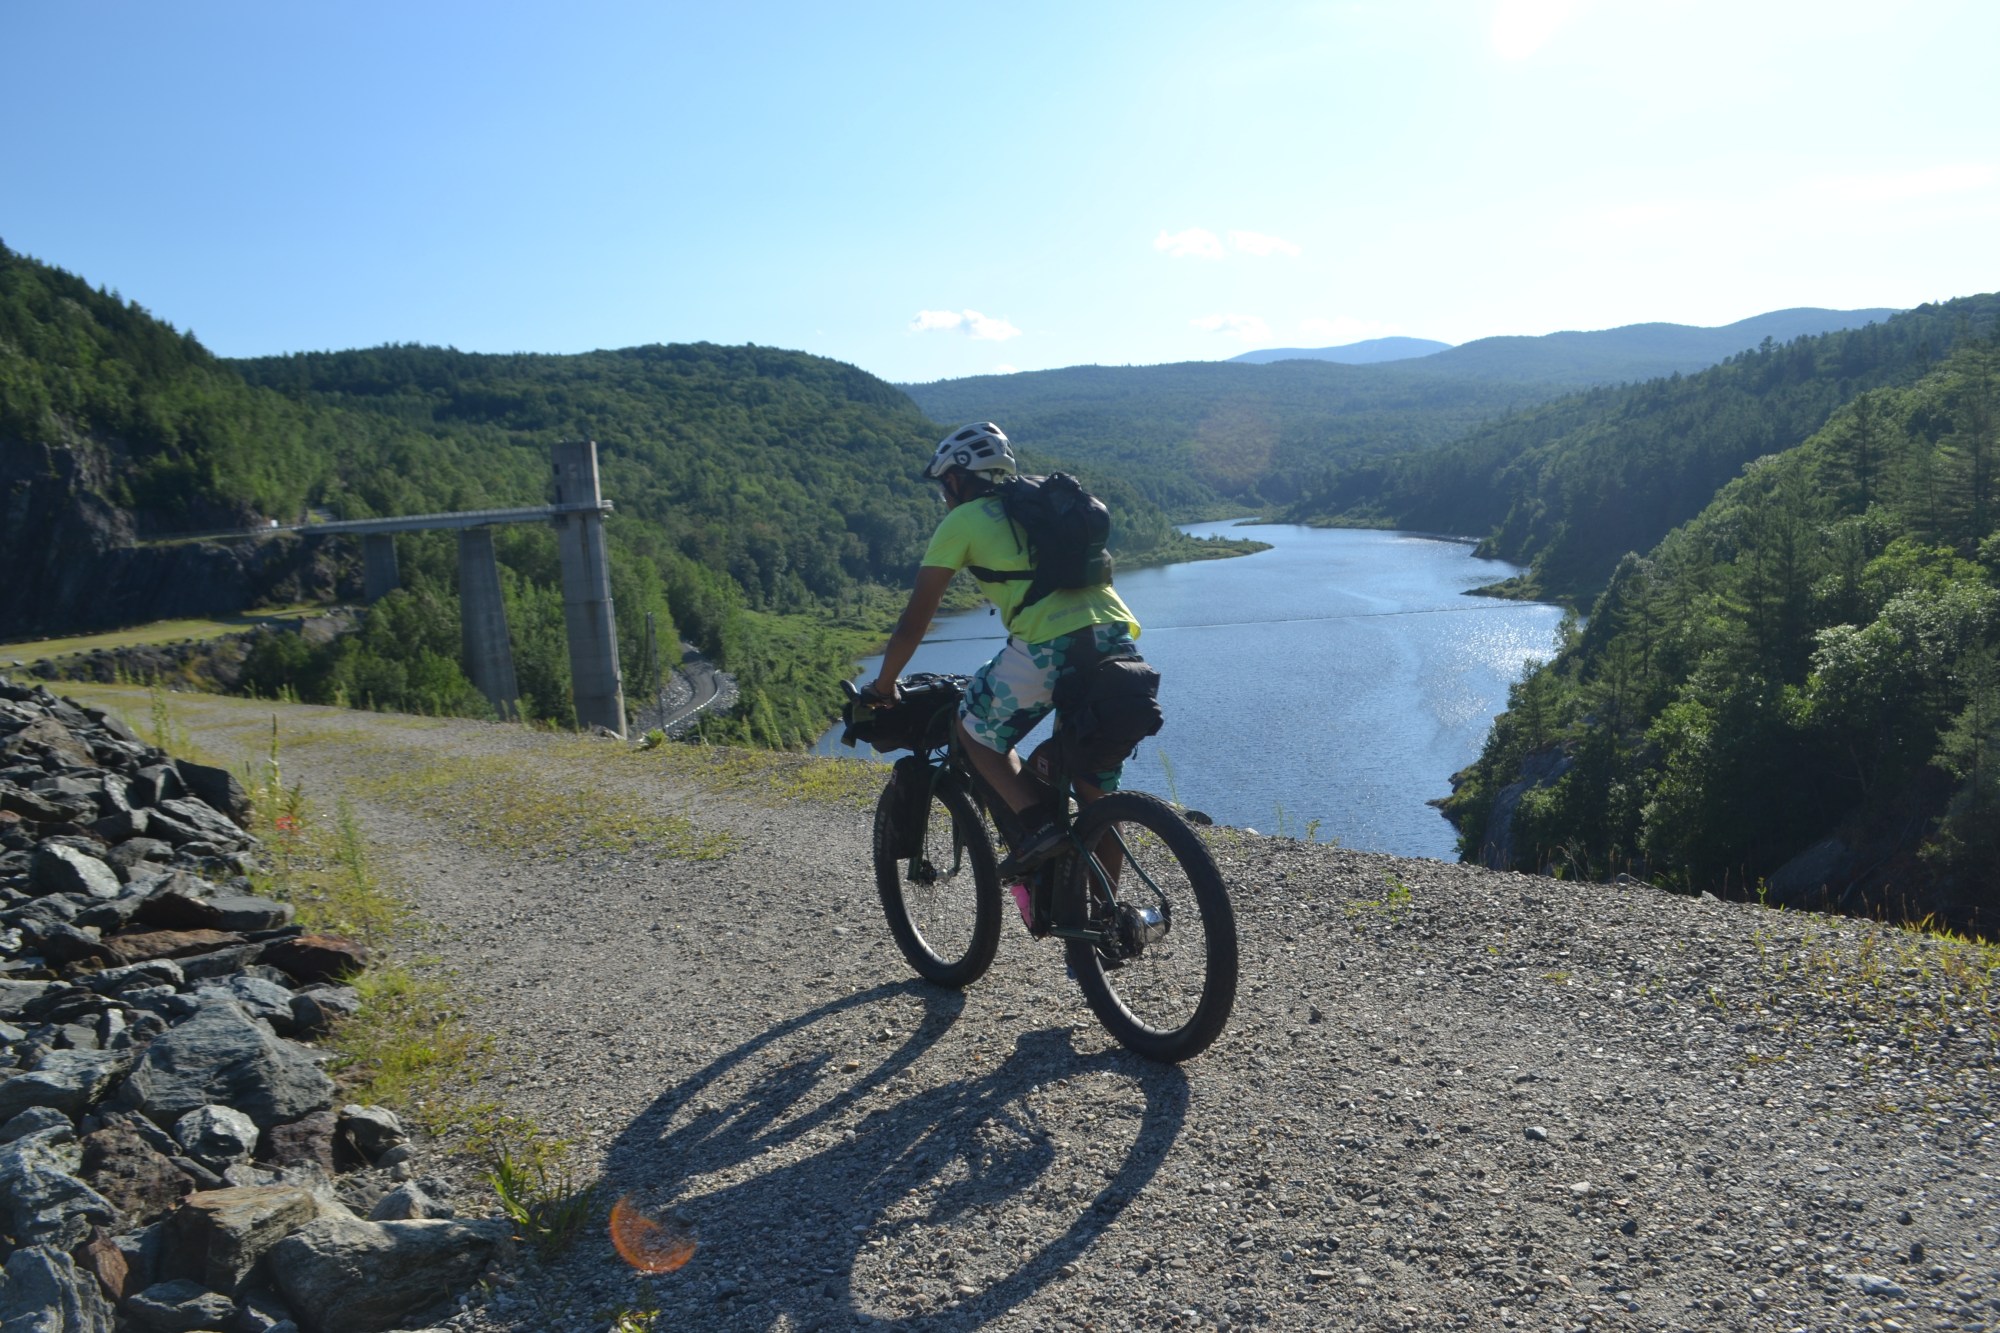
Bicycle – The most important things about your bike are that it is in good working condition and fits you well. A mountain bike will work best if you are planning to do technical trails. Bikes with two to three inch wide tires strike a nice balance between off-road capability and efficiency. Lower gearing is beneficial for long climbs loaded with gear. Rigid bikes or those with only front suspension are often better than a full-suspension bike because they are lighter and require less care.
- Bike Repair Supplies: Spare Tube, Patches, Glue, Tire Levers, Pump, Multi-Tool, Chain Breaker, Master Link, Zip Ties, Small Roll of Gorilla Tape, Misc Bolts. Optional: Pliers, Crescent Wrench, Brake Pads, Shift and Brake Cables


Cargo – There are many ways to carry gear on your bike, each with pros and cons. The traditional way is a rack and panniers. This provides you with a lot of capacity and the rack can hold bulky items. However, it can also lead to weight distribution issues that will affect handling. Many riders are now using a combination of frame, seat, and handlebar bags. These bags distribute the load more evenly over the bike and lead to better ride quality. However, space is limited and you will need to be smart in your packing to use this lightweight setup.
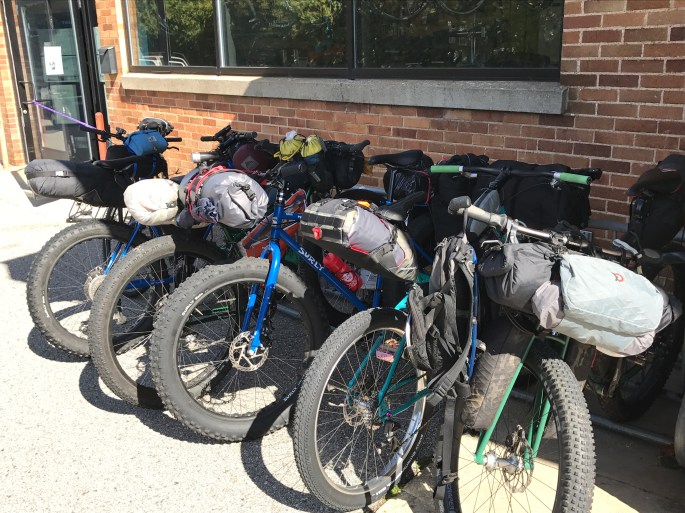
- Packing – The best bags are only as good as your pack job. Weight should be distributed equally and kept as low as possible. Clothing should be rolled tightly, compression sacks are a big help. Items you use frequently should be easily accessible and not require you to pull other things out. Most importantly make sure whatever style of bag you use is secured tightly to your bike. Loose bags are hazardous.
Sleep System and Shelter – Getting good rest is key to having big days on the trail. A quality sleeping bag and pad are a must. Pick a good balance of the warmth you need and the size you can pack. You can always wear some clothes to add a few degrees to your bag.
You will also need to protect yourself from the elements. This can be as simple as a tarp and a bug net, or a bivy sack. A small tent can be a nice option, especially if the weather requires you to take shelter for an extended period. Hammock shelters from E.N.O. and others are also very popular but require trees to hang.
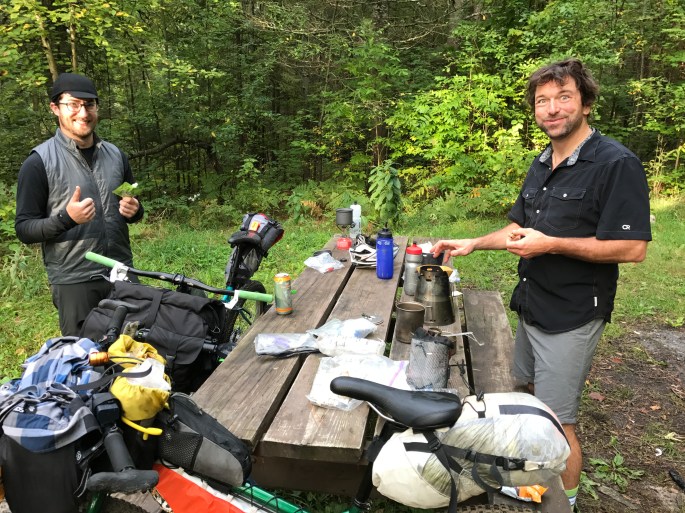
Cook System – Before picking a cook system consider how many people you will be with and what types of meals you want to be able to prepare. Multiple pots and pans add up quickly but if you are in a big group the load doesn’t fall on one person. If you are going solo bring just one pot and consider eating directly from it.
To heat your food you have many options. If you are in a large group you can make a camp stove from rocks or use a fire screen. Campgrounds often have grills available for use. A lightweight gas/alcohol powered stove is a common choice. There are many good stoves on the market; do some research and find one that fits your needs.
Clothing – This can make or break your trip. Carrying too much clothing will add up quickly, but missing out on a few crucial pieces could leave you cold and uncomfortable for prolonged periods. Here is a basic list to start with, modify according to the season:
- Tops: 2 short sleeve, long sleeve, sweater, windbreaker or rain jacket
- Bottoms: Padded riding shorts, athletic shorts, long underwear or leggings, rain or wind pants, swim suit
- Undergarments: 2 pairs of underwear, 2-3 pairs of socks (wool is best), hat
- Misc: Arm warmers, light gloves, bike shoes or good fitness shoes
Other Gear – Headlight, knife, matches, med kit, simple toiletries, para-cord. Optional: Journal or book, saw, bike computer, camera, phone, bug spray.
FOOD AND HYDRATION
Basic Considerations – Food is the fuel for your adventure. You need to make sure you have enough energy in the tank, while not carrying so much that your bike feels like one. The same goes for water. Consider how frequently you can resupply and pack accordingly.
Carrying Water – Hydration Backpacks (Camelbaks) and water bottles both work great. Bottles are more durable, easier to fill, and don’t place the weight on your back. H2O packs have large capacities, and don’t use up precious space on the bike. Packs are also easier to drink from when riding and have space for other gear.
Recommended Meals: Spaghetti or mac and cheese, stir frys, beans and rice, rababu, soups, quesadillas and sandwiches, trail mixes, ice cream, dehydrated food, dried fruit, dark chocolate, and cheese.
NAVIGATION AND PLANNING
GPS or Maps – Having a map is a great way to navigate. Study the route ahead of time so you are familiar with landmarks and navigation points. A GPS can be nice but you will be dependent on recharging it, and often they only have the route you program. Maps can provide a bit more information if you need to modify your plan.
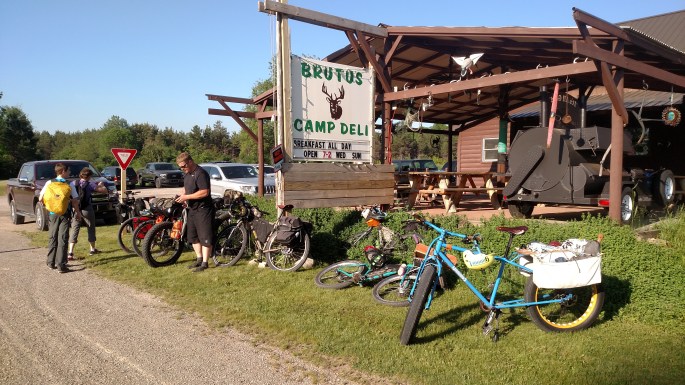
Resupplying – One way to reduce your food and water weight is to pick more up on the way. Grocery stores, Co-ops, and often gas stations can provide you with some meals. Water can often be found in public places but a private residence can also work, just be sure to ask kindly.
Distances – How far you can go each day will be largely dependent on terrain and fitness. It is best to set reasonable goals and have bailout points or backup camps if necessary.
Emergencies and Aid – It is always a good idea to know where the nearest hospital will be on your trip. Also knowing if there is a local bike shop can save a trip that looks to be headed for disaster.
Warm Showers – If you are looking to meet new people and take some breaks from the wilderness on your trip, warmshowers.org is a nice way to find places to stay. Many of the hosts are bicycle tourers themselves and will enjoy swapping stories.
TRIP IDEAS
Start Small – For your first trip, pick someplace nearby or familiar. A 15-30 mile radius is ideal. This could be a good trail system or a state park. One or two nights is an easy way to shake down your gear and determine if changes are needed. Make sure someone knows where you are.
Avoid Busy Roads – Spend some time planning your route. Try to find bike paths, rail trails, or 4wd roads that can get you to your destination. Google maps has a nice feature that highlights paths in green; it is likely there are some near you that you are not even aware of. Keeping away from the pavement will make your ride safer and more fun.
Setup for Success – For your first trip, eliminate some of the variables. Have a good backup plan. Try to go when the weather is ideal. Check and recheck your gear.
TAKE A FRIEND! SHARE THE JOY!!
